Patterns
Patterning is very useful and necessary tool/feature while CAD modelling. It has made life easy for designers. Most CAD software includes this functionality. By combining multiple pattern operations, you can achieve very complex results easily.
Why we needed patterns?
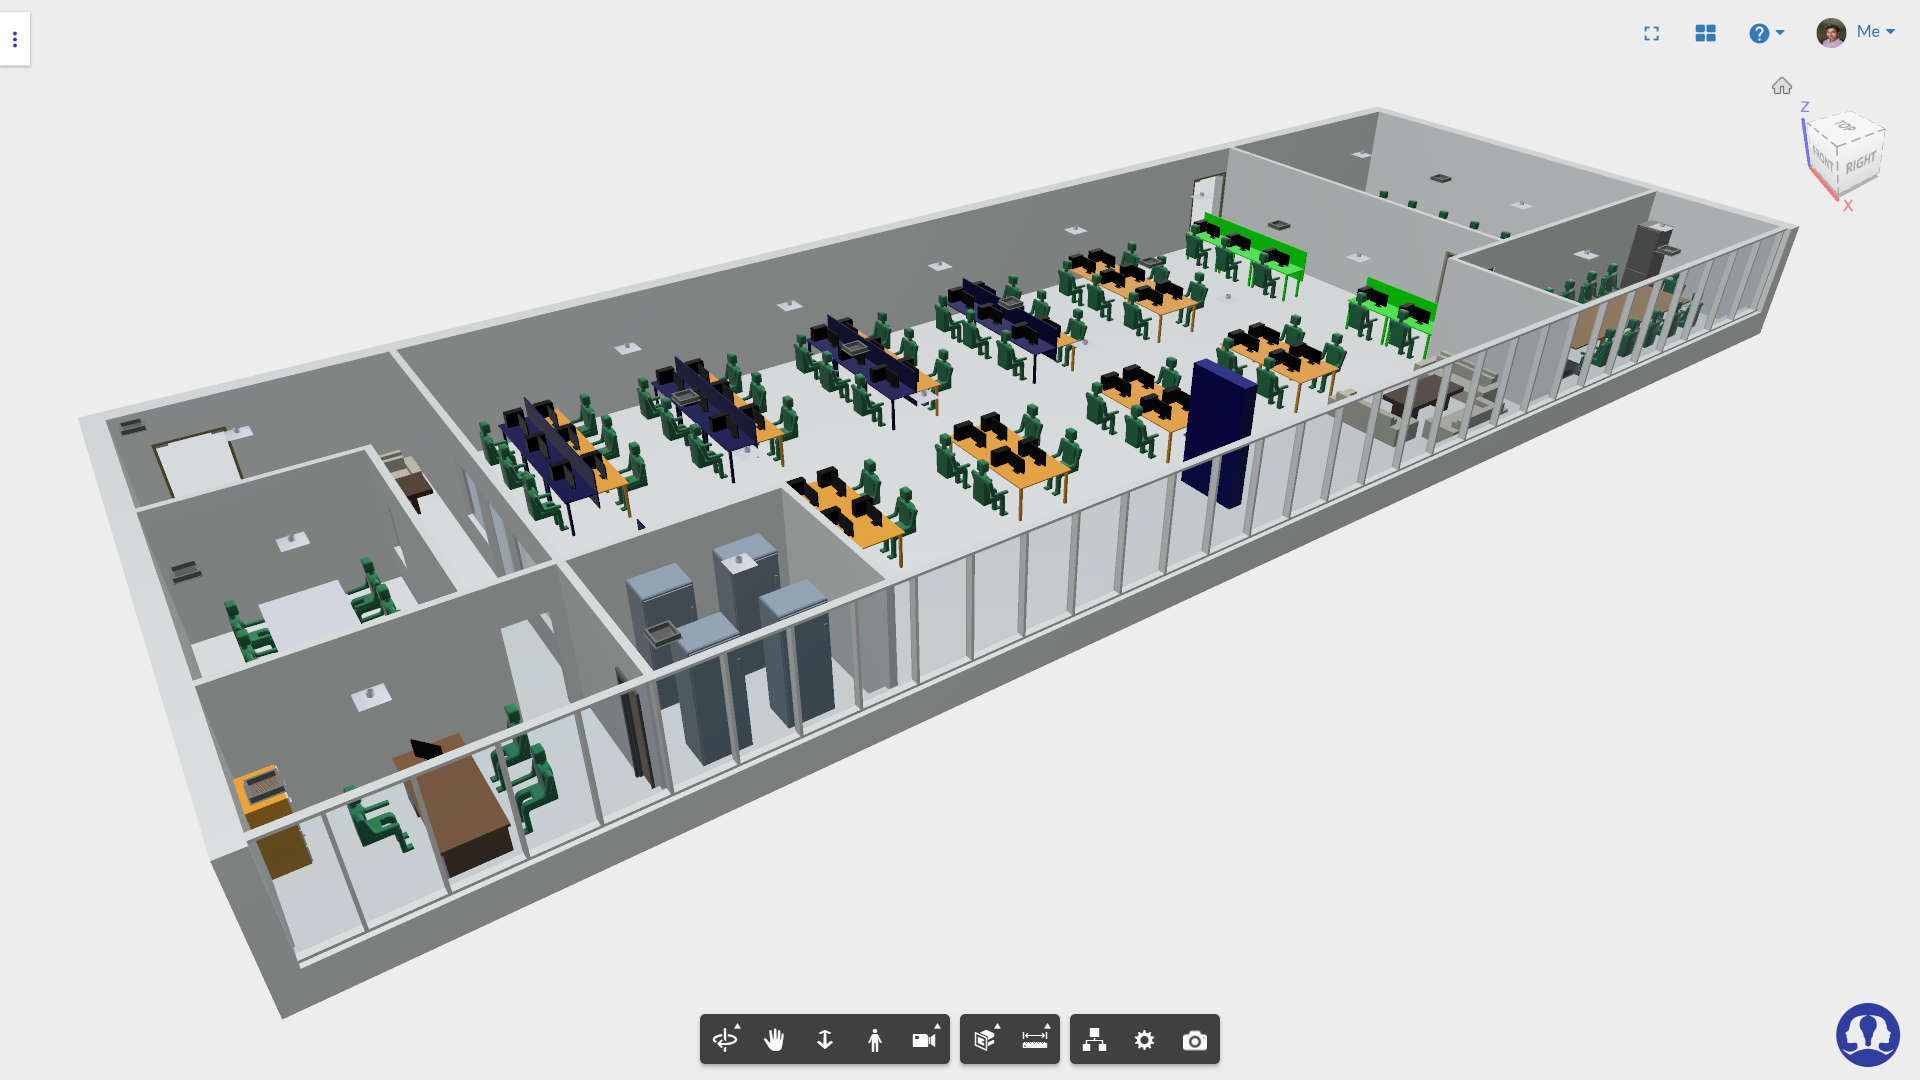
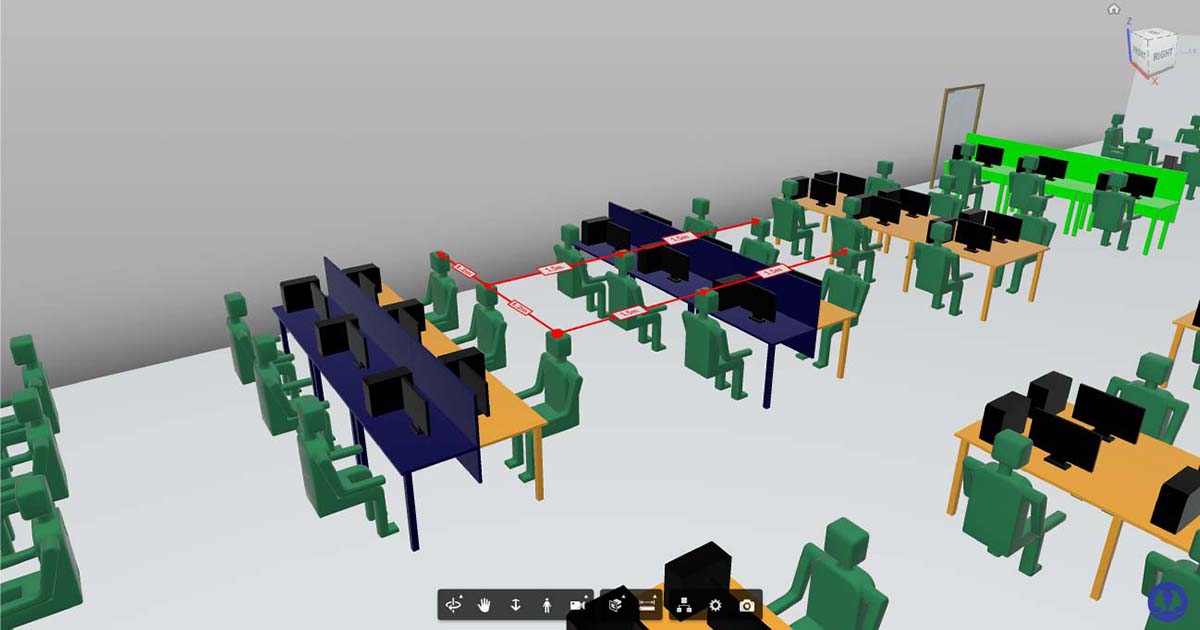
Our product simulationHub, uses Autodesk FORGE viewer for visualization of CFD simulation. In our upcoming thermal comfort analysis app, we needed human heat load manipulation option. For this we implemented rectangular grid and circular grid patterns.
How we implemented pattern feature in Autodesk FORGE viewer?
TFor creating grid pattern, following inputs were used.
1.Selective area on which to create pattern
2.Number of objects row and column wise
Rectangular region can be specified by selecting two points which are diagonally opposite corners of rectangle. After selection we divided the rectangle based on number of objects into grid. These grid point locations will be used for pattern.
function rectangularDistribution(cornerPointArray, numDivisionArray) {
    distributionPointArray = [];
    for (var i = 0; i < numDivisionArray[0]; i++) {
        for (var j = 0; j < numDivisionArray[1]; j++) {
            var point = cornerPointArray[0].clone();
            var param1 = i / numDivisionArray[0];
            var param2 = j / numDivisionArray[1];
            point.x = cornerPointArray[0].x * (1 - param1) + cornerPointArray[1].x * param1;
            point.z = cornerPointArray[0].z * (1 - param2) + cornerPointArray[1].z * param2;

            distributionPointArray.push(point);
        }
    }
    return distributionPointArray;
}
function radialDistribution(circlePoints, angularDivisions, radialDivisions) {
    distributionPointArray = [circlePoints[0]];
    var deltaTheta = 2 * Math.PI / angularDivisions;

    for (var i = 0; i < angularDivisions; i++) {
        var rotMatrix = new THREE.Matrix4().makeRotationY(i * deltaTheta);
        for (var j = 1; j < radialDivisions; j++) {
            var param = j / radialDivisions;
            var startPt = circlePoints[0].clone();
            var point = startPt.lerp(circlePoints[1], param).sub(circlePoints[0]);
            point.applyMatrix4(rotMatrix);
            point.add(circlePoints[0]);
            distributionPointArray.push(point);
        }
    }
    return distributionPointArray;
}
function createPattern(viewer, model, patternType, direction, numObjects, distBetweenObjects) {
    var transMat = viewer.impl.getRenderProxy(model, 0).matrixWorld;
    var newTransMat = transMat.clone();
    var modelURN = model.getData().urn;

    viewer2.LoadModel(modelURN).then(function (modelCopy) {
        customGeometries.push(modelCopy);
        const fragCount = model.getFragmentList().fragments.fragId2dbId.length;

        //fragIds range from 0 to fragCount-1
        for (var fragId = 0; fragId < fragCount; ++fragId) {

            var fragProxy = SHub.Globals.viewer.impl.getFragmentProxy(modelCopy, fragId);
            var transformMat = viewer.impl.getRenderProxy(model, fragId).matrixWorld;

            fragProxy.getAnimTransform();
            var position = new THREE.Vector3();
            var quaternion = new THREE.Quaternion();
            var scale = new THREE.Vector3();

            transformMat.decompose(position, quaternion, scale);

            fragProxy.position = position;
            fragProxy.scale = scale;
            fragProxy.quaternion = quaternion;

            fragProxy.updateAnimTransform();
        }

        SHub.Globals.viewer.impl.sceneUpdated(true);

        var bbox = modelCopy.getBoundingBox();
        var translatePt = new THREE.Vector3(bbox.size().x, 0, 0);

        var transformManager = new SHub.Core.TransformManager();
        transformManager.TranslateModel(modelCopy, translatePt);
        viewer.impl.sceneUpdated(true);

    }).catch(function (err) {
        console.log(err);
    });
}