The Need
Fine. how about viewing these models in the native applications? You may say ok but why? Suppose you have Windows or Android application in which you want to present your product (which is surely a 3D model). Many times, you may think about providing a high definition image of the product, but 3D model really adds a great value for customer experience. So the need is “ you want to render 3D model in a native application”. Next question is how we are going get this feature? Can we do something like this?
- Create a native application using C++ and Qt
- Insert a webpage containing the Autodesk FORGE Viewer inside it
- Set up some interface for communication between a native application and the Autodesk FORGE web application
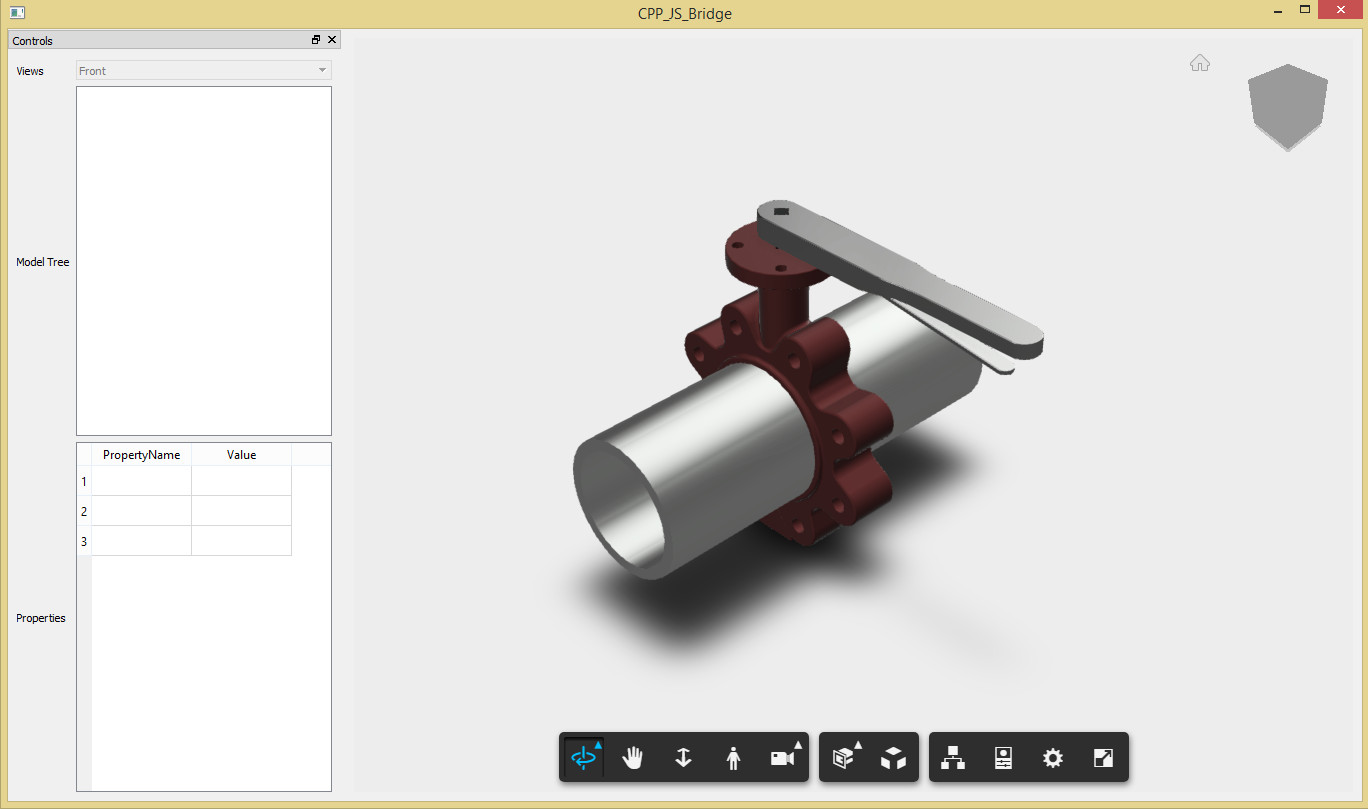
Ok, these steps sound good. Let’s try this. We will create windows desktop application with Qt. You can follow these Qt installation steps. Now let’s create a Qt project in visual studio. Make sure you add WebEngine, WebEngine Widgets, and Web Channel modules in your project.
Qt Project
QWebEngineView *view = new QWebEngineView();
QGridLayout* baseLayout = new QGridLayout(this);
baseLayout->addWidget(view, 0, 0);
ui.centralWidget->setLayout(baseLayout);
view->load(QUrl("http://192.168.1.30:8080/basic_viewer.html"));
view->show();
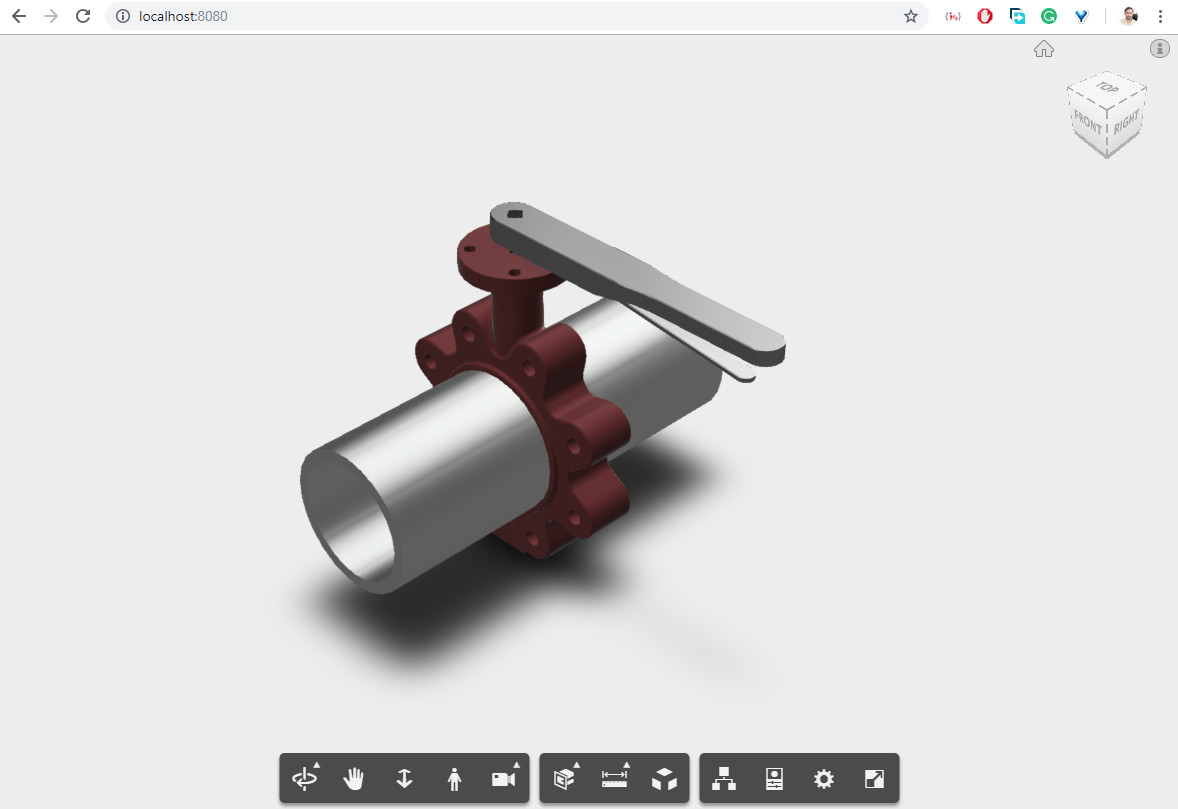
Autodesk FORGE Web App
To initialize Autodesk viewing service use below snippet:
var viewer;
    var options = {
        env: 'AutodeskProduction',
        accessToken: ''
    };
    var documentId = 'urn:'; //model urn
    Autodesk.Viewing.Initializer(options, function onInitialized(){
        Autodesk.Viewing.Document.load(documentId, onDocumentLoadSuccess, onDocumentLoadFailure);
    });
var viewerDiv = document.getElementById('MyViewerDiv');
    viewer = new Autodesk.Viewing.Private.GuiViewer3D(viewerDiv);
    viewer.start(svfUrl, modelOptions, onLoadModelSuccess, onLoadModelError);
CPP(Qt) And JS(Web Application) Intercommunication
There is a communication mechanism, which works as a bridge between the C++ world to the JavaScript world. It provides a way in which C++ code can call JavaScript functions and vice versa. Not only function calling but also, we can pass the variables from one side to another. These scenarios can be divided into two parts:
Part I
Qt (CPP) app invokes Autodesk FORGE (Js) web app functions:
runJavaScript()
view->page()->runJavaScript("forgeViewer.SetView('front')");
Part II
Autodesk FORGE (Js) web app invokes Qt (Cpp) app functions:
class MyWebChannel: public QObject
{
    Q_OBJECT
public:
    MyWebChannel();
    ~MyWebChannel();

    public slots:
   	 void ActivateUI();
};
QWebChannel* qWebChannel = new QWebChannel();
MyWebChannel* webChannelObj = new MyWebChannel();
qWebChannel->registerObject("mainWindow", webChannelObj);
view->page()->setWebChannel(qWebChannel);
new QWebChannel(qt.webChannelTransport, function (channel) {
	mainWindowObj = channel.objects.mainwindow;
});
mainWindowObj.ActivateUI();
Data passing between Cpp and Js Functions
As I mentioned above, we can pass data in between and this can also be divided into two parts:
Part I
view->page()->runJavaScript("forgeViewer.SetView('back')");
view->page()->runJavaScript("forgeViewer.SetSelectedBodyColor(' "+ colorName +" ',' "+ mSelectedDbId +" ')");
});
Part II
mainWindowObj .ShowModelTreeView(JSON.stringify(treeObj));
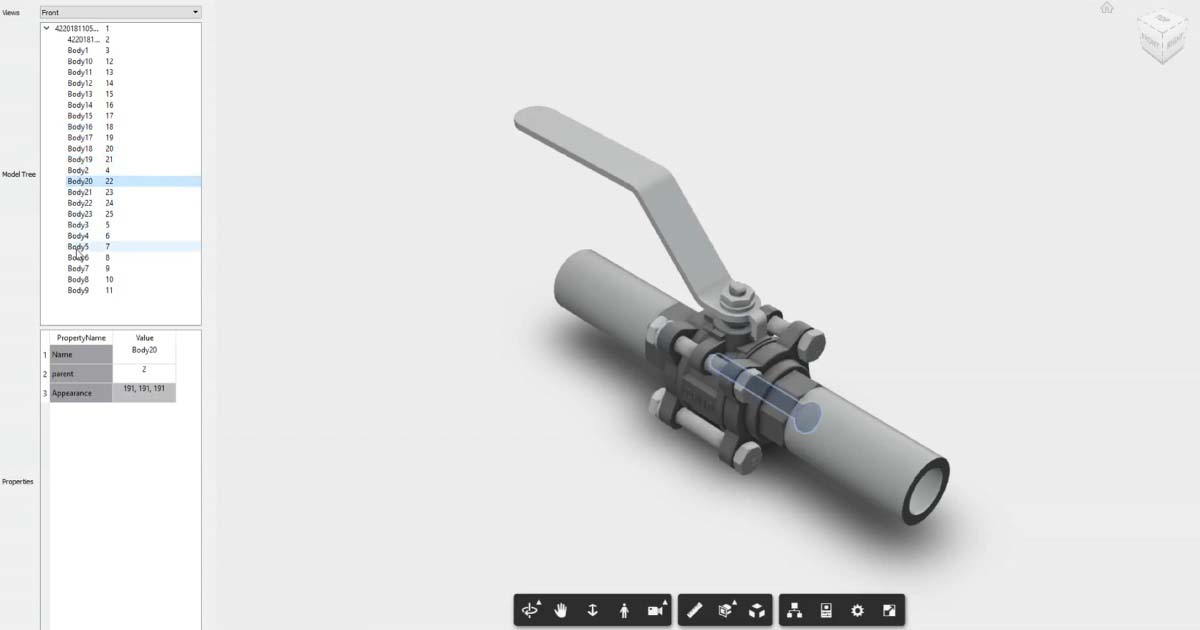
Output
- The Autodesk FORGE views (You can change view i.e top, bottom, left, right)
- Model tree (which shows a listing of model parts, also on selection of particular body, that body gets highlighted in viewer)
- Properties of a selected body